
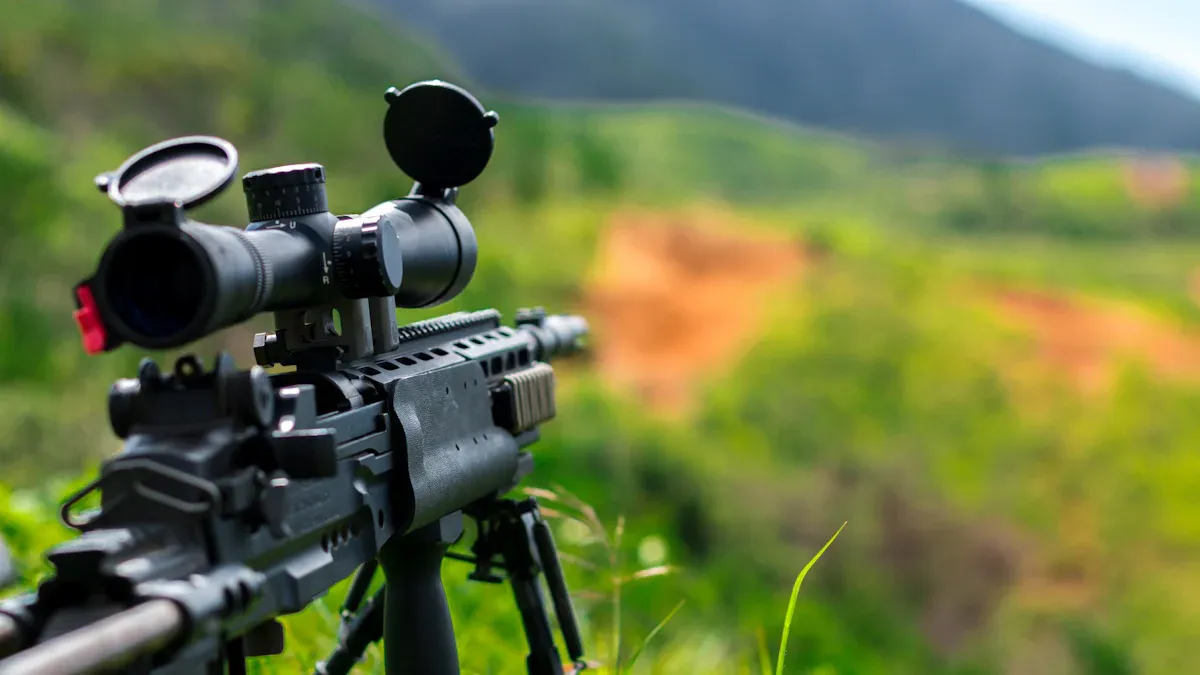
A rifle bipod completely transforms the shooting experience by adding unmatched stability, making each shot feel precise and controlled. Imagine your Remington 700 outfitted with a durable bipod, turning it into a sharpshooter’s ultimate tool. Paired with the right rail and mount configuration, this essential accessory ensures your rifle scope remains perfectly steady. It’s a true game-changer for achieving pinpoint accuracy.
Key Takeaways
- A rifle bipod helps keep your aim steady and accurate.
- Pick a bipod made from strong materials like aluminum or carbon fiber. Make sure it fits your Remington 700′s mount.
- Install it step by step, and check its steadiness before using it.
Tools and Preparation for Installing a Rifle Bipod
Essential Tools for Installation
Installing a rifle bipod doesn’t require a toolbox the size of a small garage, but a few key items are essential for a smooth process. Here’s what you’ll need:
- A Clean Picatinny Rail or Sling Swivel Stud: Ensure the mounting area is free of dirt and debris. A clean surface guarantees a secure fit.
- Screwdriver or Allen Wrench: Depending on your bipod’s design, these tools help tighten screws or bolts.
- The Bipod Itself: Of course, the star of the show! Make sure it’s ready to go.
- A Steady Work Surface: A stable table or bench prevents accidents during installation.
Pro Tip: Avoid overtightening screws. It’s tempting to crank them down, but this could damage the rail or bipod.
Selecting the Right Bipod for Your Remington 700
Choosing the perfect bipod is like picking the right pair of hiking boots—it needs to fit well and perform under pressure. Look for these features:
- Durable Materials: Aluminum or carbon fiber ensures strength without adding unnecessary weight.
- Mounting Compatibility: Check if it works with your rifle’s Picatinny rail or sling swivel stud.
- Adjustable Legs: These allow you to adapt to uneven terrain or different shooting positions.
- Swivel Capability: A bipod that swivels makes target tracking a breeze.
- Quick Deployment: In high-stakes moments, a fast setup can make all the difference.
Preparing Your Rifle for the Installation Process
Preparation is the unsung hero of a successful installation. Follow these steps to get your rifle ready:
- Gather Your Tools: Have your bipod, screwdriver, and Allen wrench within reach.
- Locate the Sling Swivel Stud: This small but mighty component is usually on the rifle’s forearm.
- Align the Bipod: Position the bipod’s mounting bracket over the stud or rail slot.
- Secure the Bipod: Push it into place and tighten the screws or locking mechanism.
- Test Stability: Gently wiggle the bipod to ensure it’s firmly attached.
Note: Regularly inspect your bipod for wear and tear. A quick check can save you from surprises in the field.
Step-by-Step Guide to Installing a Rifle Bipod
Mounting a Bipod Using the Sling Swivel Stud
Mounting a rifle bipod using the sling swivel stud is a straightforward process. Here’s how to do it:
- Choose the Right Location: Identify a suitable spot on the barrel where the clamp can attach without interfering with the rifle’s operation.
- Position the Bipod:
- Open the clamp and place it around the barrel.
- Ensure it’s positioned at a point that maintains balance and stability.
- Tighten the Clamp:
- Use the appropriate tool (often an Allen wrench) to tighten the clamp securely.
- Check for any movement or wobble.
- Verify Installation: Ensure the bipod is securely mounted and does not affect the rifle’s accuracy.
Tip: Always double-check the tightness to avoid any surprises during shooting.
Installing a Bipod with a Picatinny Rail Adapter
For those using a Picatinny rail adapter, the installation process is slightly different but equally simple. Here’s a quick guide:
| Feature | Details |
|---|---|
| Material | 100% Real Carbon Fiber RODS |
| Dimensions (L x W x H) | 7.6 x 3.35 x 2.64 inches |
| Weight | 0.37 Kilograms |
| Color | 6-9 Inches Carbon Fiber Bipod |
| Manufacturer | Huihaozi |
- Move the plastic tube to prepare for installation.
- Clamp on the sling stud of the Picatinny adapter.
- Tighten the bottom thumbscrew.
- Use an Allen wrench to tighten the Picatinny adapter on the rail.
Note: The carbon fiber material ensures durability without adding extra weight to your rifle.
Testing and Securing the Bipod for Stability
Once the rifle bipod is installed, testing its stability is crucial. Gently wiggle the bipod to check for any movement. If it feels loose, tighten the screws again. A stable bipod ensures that your shots remain accurate and consistent.
Pro Tip: Regularly inspect your bipod for any signs of wear and tear. This simple check can prevent issues during critical moments.
Compatibility and Accuracy with a Rifle Bipod
Ensuring Your Bipod is Compatible with the Remington 700
Not all bipods are created equal, and finding one that fits the Remington 700 is crucial. Compatibility depends on the rifle’s mounting system. Most Remington 700 models feature a sling swivel stud, making it easy to attach a bipod designed for this setup. For those with a Picatinny rail, a bipod with a rail adapter works perfectly.
When selecting a bipod, check for adjustable legs and durable materials like aluminum or carbon fiber. These features ensure the bipod can handle the rifle’s weight and adapt to various shooting conditions. A well-matched bipod not only enhances stability but also prevents unnecessary wear on the rifle.
Tip: Always double-check the mounting system before purchasing to avoid compatibility issues.
How a Bipod Impacts Rifle Accuracy
A rifle bipod transforms shooting accuracy by providing a stable platform. In a precision rifle competition, a shooter using a high-quality adjustable bipod achieved tight groupings at distances over 800 yards. The bipod’s fine height adjustments allowed the shooter to focus on windage and elevation, resulting in remarkable precision.
Key benefits of using a bipod include:
- Improved stability, reducing rifle movement during aiming.
- Enhanced focus on the target, as the shooter doesn’t need to support the rifle’s weight.
- Consistent accuracy, even in challenging environments like uneven terrain.
A bipod is a game-changer for anyone looking to improve their shooting performance.
Adjusting the Bipod for Optimal Shooting Performance
Adjusting a bipod correctly can make all the difference in shooting performance. Different leg lengths suit various shooting positions:
- Shorter than 6 Inches: Ideal for bench rest shooting.
- 6-9 Inches: Versatile for prone and bench rest positions.
- 10-15 Inches: Perfect for shooting in tall grass or uphill.
- Over 15 Inches: Best for sitting positions or elevated areas.
| Adjustment Type | Description |
|---|---|
| Leg Length Adjustability | Varying heights for different shooting positions (prone, seated, elevated). |
| Swivel Capability | Horizontal rotation for better target engagement without moving the bipod. |
| Quick Deployment | Spring-loaded legs for fast setup in time-sensitive scenarios. |
Proper adjustments improve stability and allow for faster transitions between positions. A well-tuned bipod ensures the rifle remains steady, even in dynamic shooting situations.
Pro Tip: Practice adjusting the bipod in different environments to find the perfect settings for your shooting style.
Installing a bipod on a Remington 700 transforms the shooting experience. The process is simple, yet the benefits are immense. Stability improves, accuracy sharpens, and confidence grows. Follow the steps in this guide to secure your bipod properly. Always test the setup before heading out. A stable rifle means a successful shot every time!
Post time: Mar-31-2025