
Properly mounting a rifle scope is essential for achieving accuracy and peak performance. Misaligned mounts or loose screws can lead to poor results, such as inconsistent shots and reduced confidence. A stable system ensures precise aiming. Tools like a rifle bipod and properly secured rail components help maintain alignment and consistency over time.
Key Takeaways
- Collect important tools like a gun holder, torque tool, and bubble level for easy setup.
- Adjust the scope’s position to get clear sight and stay safe while shooting.
- Make sure the rifle and scope are even to avoid aiming mistakes and shoot better.
Tools and Preparation
Essential Tools for Mounting a Rifle Scope
Having the right tools ensures a smooth and precise installation process. A few essential items make all the difference in achieving accuracy and avoiding damage:
- A gun vice stabilizes the rifle, keeping it steady during installation.
- A torque wrench prevents over-tightening, which can damage screws or the rifle scope.
- A small spirit level ensures the rifle and scope are perfectly aligned.
- Torx bit and nut driver or screwdriver for securing scope ring screws.
- Material for shims, such as scrap cardboard, helps level the rifle if needed.
For advanced precision, tools like the Smart-Torq & Driver Master Set and Level-Right Pro provide added versatility and accuracy. These tools allow for precise torque adjustments and ensure the reticle aligns perfectly with the rifle bore.
Safety Precautions Before Mounting
Safety should always come first. Before starting, ensure the rifle is unloaded and the chamber is clear. Double-check this step to avoid accidents. Work in a well-lit area with minimal distractions. Wearing safety glasses protects your eyes from potential debris or accidental tool slips. Additionally, keep all tools organized to prevent mishaps during the process.
Tip: Always follow the firearm manufacturer’s guidelines for torque specifications. For example, steel receivers typically require 25 inch-lbs, while aluminum ones need 15 inch-lbs.
Preparing the Rifle and Scope for Installation
Preparation is key to a successful mounting process. Begin by cleaning the rifle’s mounting surface and the scope base to remove dirt or oil. Place the rifle on a stable surface, such as a gun vice or a sturdy table. Use a spirit level to ensure the rifle is level from front to back and side to side. If necessary, shim the rifle to achieve proper leveling. Once the rifle is stable, position the scope in the rings and check for proper eye relief before securing it.
A clean and stable setup not only simplifies the process but also ensures long-term reliability and accuracy.
Step-by-Step Process for Mounting a Rifle Scope
Installing the Base Securely
The foundation of a properly mounted rifle scope begins with a secure base. Start by selecting a base that matches your rifle’s make and model. Clean the mounting surface thoroughly to remove any debris or oil that could interfere with stability. Position the base on the rifle and align it with the mounting holes. Use a torque wrench to tighten the screws to the manufacturer’s recommended specifications. This ensures the base is firmly attached without risking damage to the rifle.
Tip: A stable base prevents movement during recoil, which is critical for maintaining accuracy over time.
Attaching and Aligning the Rings
Once the base is secure, attach the scope rings. Choose high-quality rings that match the diameter of your rifle scope. Align the bottom halves of the rings on the base and tighten them lightly to hold them in place. Place the scope in the rings and adjust its position to ensure the reticle aligns with the rifle’s vertical centerline. Misalignment can lead to significant shooting inaccuracies, so take your time with this step.
Using a one-piece cantilever mount instead of two separate rings can simplify alignment and reduce the risk of errors. This setup ensures the scope remains properly aligned, directly improving shooting performance.
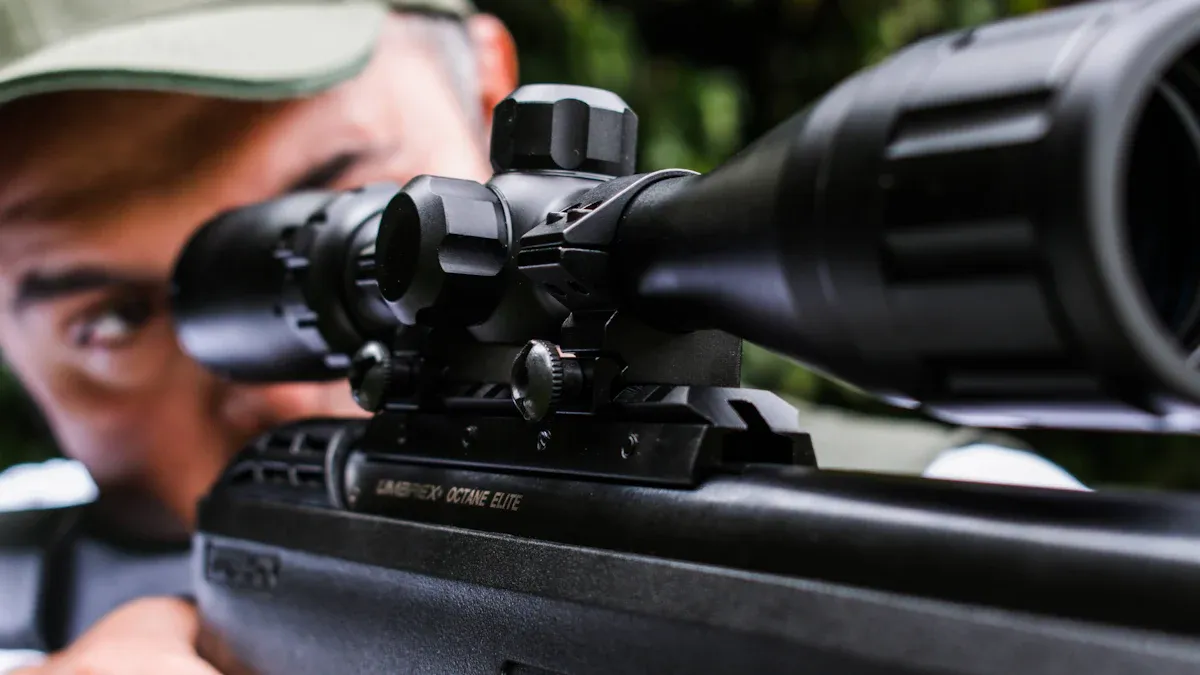
Positioning the Rifle Scope for Eye Relief
Proper eye relief is essential for comfort and safety. Slide the rifle scope forward or backward within the rings until you achieve a clear and full sight picture when holding the rifle in a natural shooting position. Ensure there is enough distance between your eye and the scope to avoid injury from recoil. Mark the position once the eye relief feels comfortable and natural.
Leveling the Rifle Scope for Accuracy
Leveling the rifle scope is a critical step for precision shooting. Use a small spirit level to ensure the rifle is level first. Then, place the level on the top of the scope to confirm it is perfectly horizontal. A misaligned scope can cause the reticle to tilt, leading to inaccurate shots. Take your time to adjust the scope until it is perfectly level.
Note: Customizable tools like the Level-Right Pro can make this process easier and more precise.
Securing and Torqueing the Screws Properly
With the scope leveled and positioned, tighten the screws on the scope rings. Use a torque wrench to apply the manufacturer’s recommended torque settings. Over-tightening can damage the scope, while under-tightening may cause it to shift during use. Proper torque ensures the scope remains stable and secure, maintaining the integrity of your setup.
Engineering guidelines emphasize the importance of correct torque specifications. Applying the right amount of torque prevents joint failure and ensures long-term stability.
Common Mistakes to Avoid When Mounting a Rifle Scope
Over-Tightening or Under-Tightening Screws
Applying the correct torque to screws is critical for maintaining the integrity of the rifle scope setup. Over-tightening can crush the scope tube or strip the threads, leading to permanent damage. On the other hand, under-tightening may cause the scope to shift during recoil, resulting in poor accuracy. Both scenarios compromise safety and performance.
Safety Alert: Improper torque settings can lead to firearm malfunctions, which may result in catastrophic failures like barrel explosions. Always use a torque wrench and follow the manufacturer’s specifications to avoid these risks.
Incorrect Eye Relief Adjustment
Eye relief plays a vital role in both comfort and safety. Placing the scope too close can result in "scope bite" during recoil, while positioning it too far away may cause a limited field of view. Adjust the scope so the shooter achieves a full sight picture without straining their neck or risking injury.
Tip: Test the eye relief in a natural shooting position to ensure it feels comfortable and provides a clear view.
Misalignment of the Reticle
A misaligned reticle can drastically reduce shooting accuracy. Even a slight cant can cause the bullet to veer off target. For example, a 1.0° reticle cant can significantly impact precision, as shown in the table below:
| No Measurable Cant | 0.5° Reticle Cant | 1.0° Reticle Cant |
|---|---|---|
| Kahles K 6-24×56 | Hensoldt ZF 3.5-26×56 | Bushnell Elite Tactical 3.5-21×50 |
To avoid this issue, ensure the reticle is perfectly level during installation. Tools like a spirit level or a specialized leveling kit can simplify this process.
Skipping the Leveling Process
Leveling the rifle scope is often overlooked but is essential for accuracy. A tilted scope causes the reticle to appear off-center, leading to parallax errors. This misalignment can make the shooter believe they are aiming correctly when, in reality, the shot will miss the target.
Note: Parallax occurs when the reticle and the target are not aligned due to an off-axis sight picture. Always level the rifle and scope to eliminate this issue.
By avoiding these common mistakes, shooters can ensure their rifle scope is mounted correctly, enhancing both safety and performance.
Final Adjustments and Sighting In
Verifying Alignment and Stability
Before heading to the range, ensure the rifle scope is securely mounted and aligned. Check that all screws are properly torqued to the manufacturer’s specifications. Gently shake the rifle to confirm the scope remains stable. A loose or misaligned scope can lead to inconsistent shots and frustration. Use a spirit level to double-check the alignment of the reticle. Even a slight tilt can affect accuracy, especially at longer distances. Taking the time to verify stability now prevents issues later.
Tip: Regularly inspect the scope’s stability after each shooting session to maintain peak performance.
Adjusting Eye Relief and Parallax
Fine-tuning eye relief and parallax ensures a clear and accurate sight picture. Adjust the scope’s position to achieve a full field of view without straining the neck. Proper eye relief also prevents injuries caused by recoil. Parallax adjustment is equally important. It creates a forgiving eye box, accommodating slight head movements during shooting. Matching the parallax setting to the target distance reduces errors caused by improper eye placement. Competitive shooters often highlight the benefits of adjustable parallax scopes for their flexibility, though fixed parallax scopes can perform well in specific conditions.
Note: A well-adjusted parallax setting enhances visibility and accuracy, especially for long-range shots.
Sighting In the Rifle Scope for Precision
Sighting in the rifle scope is the final step to ensure precision. Begin by setting up a target at a known distance, typically 25 or 50 yards. Fire a few test shots and observe the point of impact. Adjust the windage and elevation turrets to align the reticle with the bullet’s trajectory. Repeat this process until the shots consistently hit the target’s center. Gradually increase the distance to fine-tune the scope for long-range accuracy. This step builds confidence and ensures the rifle performs reliably in the field.
Reminder: Always use the same ammunition type during sighting in to maintain consistency.
Properly mounting a rifle scope transforms shooting accuracy and performance. Following the correct process ensures consistent results and builds confidence. To achieve this:
- Gather the right tools for reliable installation.
- Align the scope for a clear view and quick target acquisition.
- Level the rifle and scope to avoid long-distance inaccuracies.
- Secure all components using proper torque specifications.
- Double-check alignment for optimal precision.
- Test and adjust in real-world conditions for peak performance.
Avoiding common mistakes and practicing these steps will help shooters maintain their equipment and improve their skills. A well-mounted scope is the foundation of success in the field.
FAQ
What is the most important step in mounting a rifle scope?
Securing the base properly ensures stability. A solid foundation prevents movement during recoil and maintains accuracy over time.
Tip: Always clean the mounting surface before installation for better adhesion.
How can I avoid damaging my rifle scope during installation?
Use a torque wrench to tighten screws to the manufacturer’s specifications. Over-tightening or under-tightening can cause damage or instability.
Safety Alert: Follow torque guidelines to protect your scope and rifle.
Why is leveling the scope critical for accuracy?
A leveled scope ensures the reticle aligns with the rifle’s bore. Misalignment causes parallax errors, leading to missed shots, especially at long distances.
Emoji Reminder:
Post time: Apr-14-2025